An iPhone comes in with the charging symbol on screen, but the battery percentage stays flat. The customer asks for a new port, and the shop has a compatible part on hand. Before quoting the repair, check what the phone actually does with a verified charger and cable. The same symptom can lead to an accessory replacement, a charging port assembly, a battery, or a referral for board work. Use the iPhone spare parts guide for wholesalers for the wider parts overview. The steps below help you decide what to order for this repair.
📘 Summary
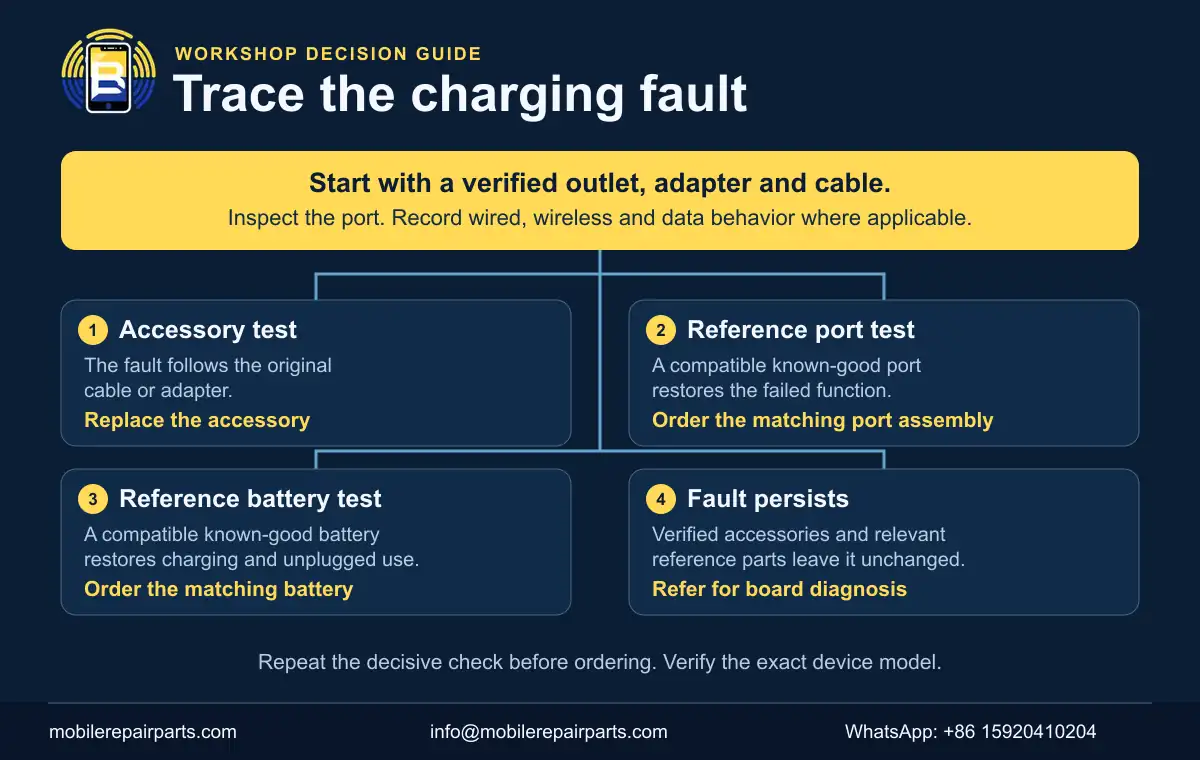
If an iPhone is not charging, start with a verified power source, adapter and cable. Compare charging, wired data and wireless behavior where supported before choosing a part.
🔍 Key Highlights
- Repeat the original test with a compatible reference assembly before ordering a port or battery.
- If verified parts leave the fault unchanged, document the results and refer the logic board for diagnosis.
- Confirm the exact model and relevant regional variant before dispatching a replacement.
Table of Contents
Start With External Checks Before Opening the iPhone
Record the symptom as received. “Won’t charge” could mean the phone never responds, charges only when the cable moves, shows a charging symbol without gaining battery percentage, or charges normally but never appears on a computer. Ask when the issue started and whether it followed a drop, liquid exposure, or a repair.
Use a working outlet, adapter and known-good compatible cable. Inspect the port for visible obstruction, corrosion, deformation and incomplete cable seating. For a deeply discharged device, follow Apple’s charging and restart sequence before treating the absence of an immediate response as a failed part. Note any temperature or charge-limit message if the phone powers on.
If the phone shows a liquid detection alert, unplug the cable and follow Apple’s drying guidance before repeating the wired test. If the device or battery appears physically damaged, follow the battery safety instructions for the model before applying power or opening it. Apple’s iPhone 15 repair manual is one example of model-specific guidance.
Isolate the Fault Between the Charging Port, Battery and Logic Board
Change one variable at a time and record the setup. When you move from external checks to a reference assembly or battery, use a verified part that fits the exact model and follow that model’s service procedure. The point of substituting a part is to see whether the same symptom changes under a comparable test.
Charging port and wired data
Test charging with a verified cable and test computer recognition separately with a cable known to carry data. Unlock the device and respond to the trust prompt if it appears. Repeat on a known-working computer connection before interpreting a data failure. If charging works and recognition fails, record that as a separate symptom. Apple’s device recognition guidance covers the cable, connection and host checks.
On a supported model, reliable wireless charging alongside repeated wired failure gives you a reason to investigate the wired input path first. Inspect the port and its connection to the board. If a known-good port assembly restores the affected functions under the same conditions and the result repeats, ordering that assembly is justified. If it does not, keep the original diagnosis open. For an iPhone 14 Pro Max with a confirmed assembly fault, see the iPhone 14 Pro Max charging port flex cable and compare the assembly with the part you tested.
Battery and charge acceptance
If the device can report battery health or run model-specific diagnostics, record those findings alongside the symptom. A battery that loses charge rapidly and a phone that draws no measurable current from the verified wired setup are different complaints. An inline meter measures at the cable, so corroborate its reading with battery percentage or the applicable diagnostic checks.
When a battery fault is suspected and the service procedure permits a comparison, test with a verified compatible battery. Look for repeatable charging and stable operation after unplugging. If that change resolves the original symptom, document it before ordering. If the diagnosis calls for an iPhone 17 Pro Max replacement battery, confirm the SIM configuration before selecting the listed variant. If neither wired nor wireless charging works on a model that supports both, the comparison alone leaves several possible causes.
When to refer the logic board
Refer the phone when verified accessories and the relevant reference assemblies leave the fault unchanged, or when inspection reveals damage at the board connector or surrounding area. Give the specialist the history, test setup and observed results. On a newer USB-C model, compare only with evidence for that model and board variant. The iPhone 15 Pro Max repair guide has examples of model-specific diagnostic work.
| What you observe | Next check | What the result supports |
|---|---|---|
| Charging returns with a verified cable or adapter | Repeat with the suspect accessory under comparable conditions | Replace the accessory if the failure follows it |
| Wired charging fails but wireless charging works | Inspect the wired path and test a compatible reference port assembly | Order the assembly if it consistently restores the failed function |
| Charging works but the computer cannot see the phone | Verify a data-capable cable, trust prompt and working host | Investigate the wired data path if the failure persists |
| A verified battery restores charging and operation after unplugging | Repeat the original test with the same external setup | Order a compatible battery if the improvement repeats |
| The same fault persists with verified accessories and relevant assemblies | Inspect the board connection and document the comparison | Refer for board diagnosis before ordering more parts |
Two Documented Repairs Where the Fault Was on the Board
Both reports came from REWA. The iPhone X walkthrough was published on iFixit, and the iPhone 11 case appeared on REWA’s own site.
iPhone X: The charging icon appeared but the ammeter showed no current
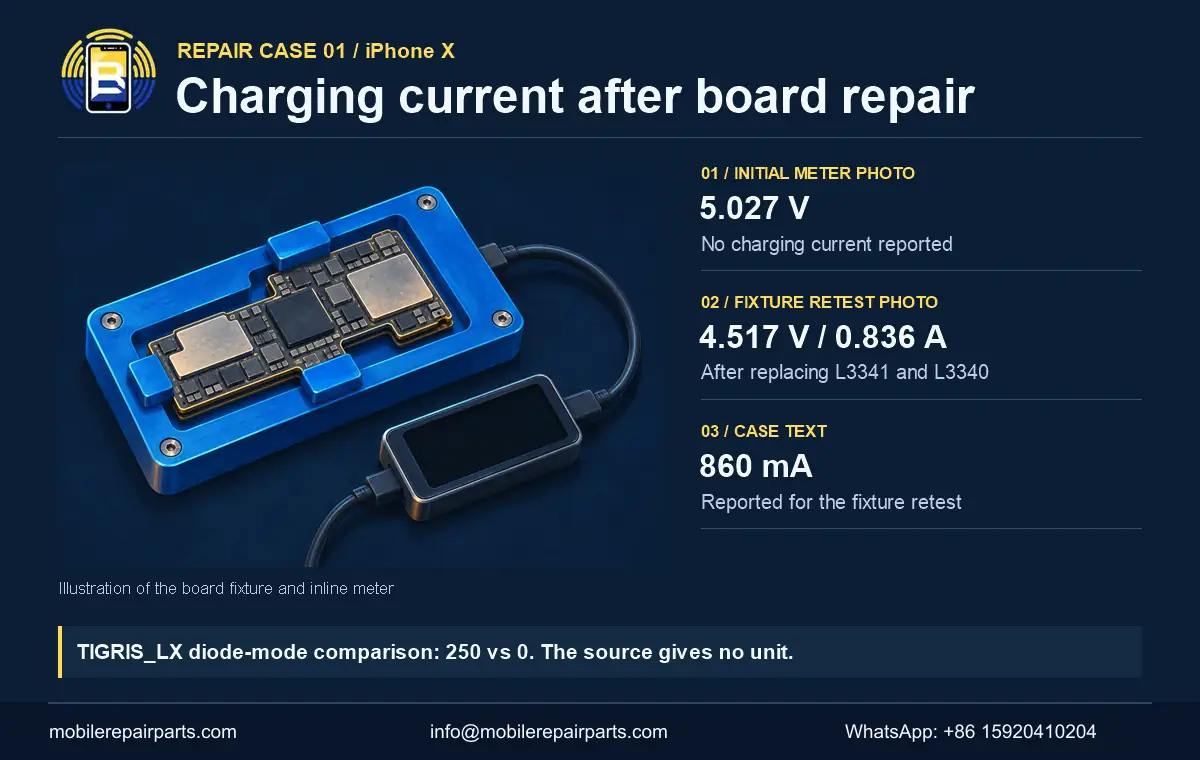
The phone booted and displayed the charging symbol when the cable was connected. The meter photo shows 5.027 V at the initial test, and the walkthrough reports no charging current. The technicians were using a known-good housing, battery and charging port flex. That comparison sent them to the board.
After separating the board layers, they checked pins 2 and 3 of the battery connector in diode mode and reported a normal result. On the charging path marked TIGRIS_LX, they reported a value of 250 against a reference of 0. The guide does not specify the unit or probe polarity for that reading, so it should be read as the workshop’s reported comparison. The technicians traced the interruption to a path with two series inductors and replaced both.
After replacing inductors L3341 and L3340, the workshop measured charging current with the board in a test fixture. The retest photo shows 4.517 V and 0.836 A. The accompanying text reports 860 mA for that stage. These are case observations from the published photo and text. After rejoining the board layers, the workshop reported normal current on the assembled phone without giving a separate reading in the text. Read steps 1, 3, 8 and 11 in the original iPhone X repair walkthrough
iPhone 11: Charging stopped after a drop
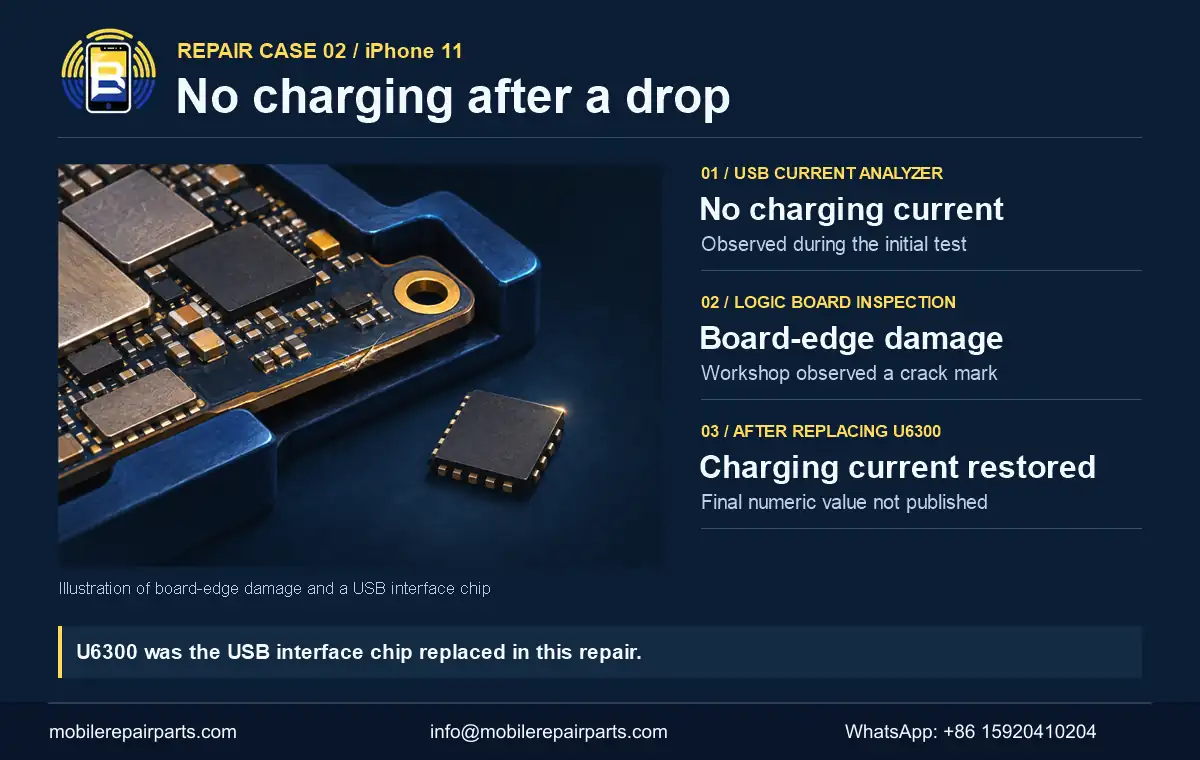
The workshop connected a USB current analyzer and reported no charging current. The technicians saw what they described as a crack mark on the side of the board. After removing the board, they replaced the USB interface chip identified in the report as U6300 and retested.
The report says that charging current returned to normal. It gives no final current value and does not document a reference port or battery test for this case. The useful intake detail was the fall, which gave the technician a reason to inspect for physical damage before ordering parts. Read case 2 in REWA’s iPhone 11 repair report
| Device and symptom | Reported finding | Workshop action | Recorded retest |
|---|---|---|---|
| iPhone X, charging symbol with no current | Symptom persisted with verified parts. The workshop reported an open path on the board. | Replaced two series inductors | Fixture photo: 4.517 V and 0.836 A. Case text: 860 mA. Final assembled retest reported as normal. |
| iPhone 11, no charge after a fall | USB current analyzer showed no charging current. Board had a visible damage mark. | Replaced the USB interface chip identified as U6300 | Workshop reported normal current. No final value supplied. |
Order the Part Supported by Your Tests
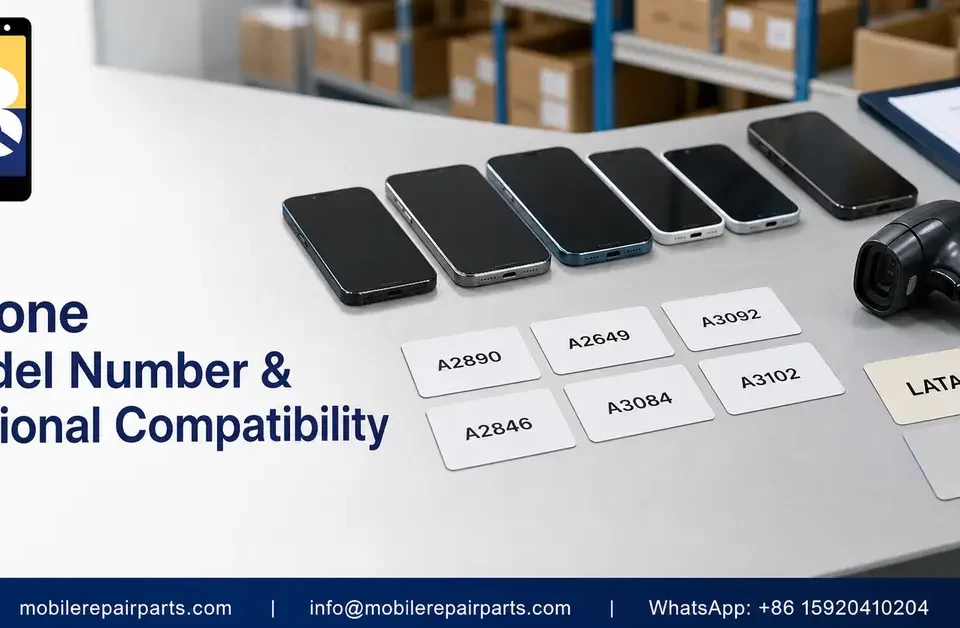
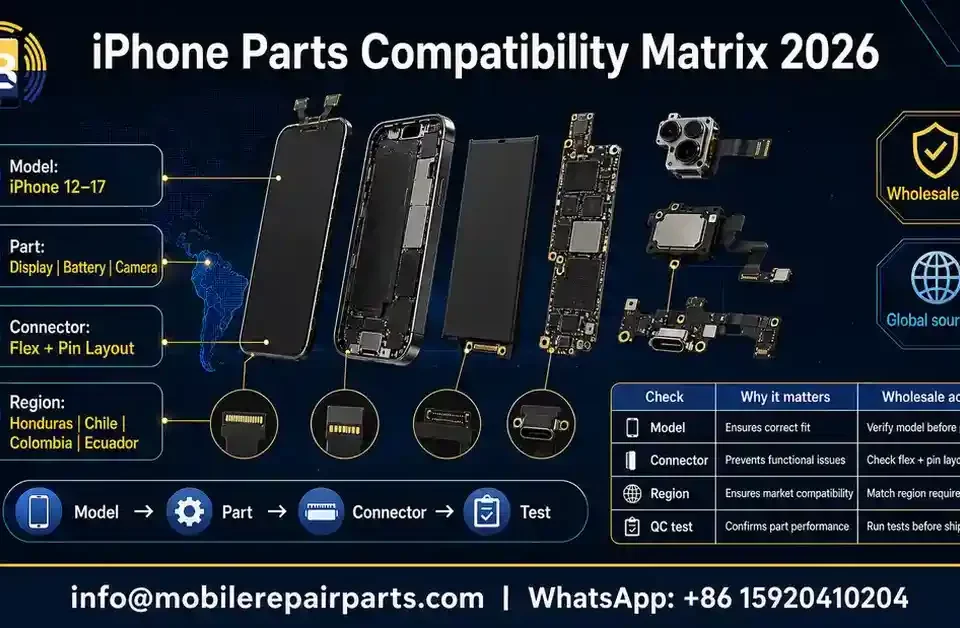
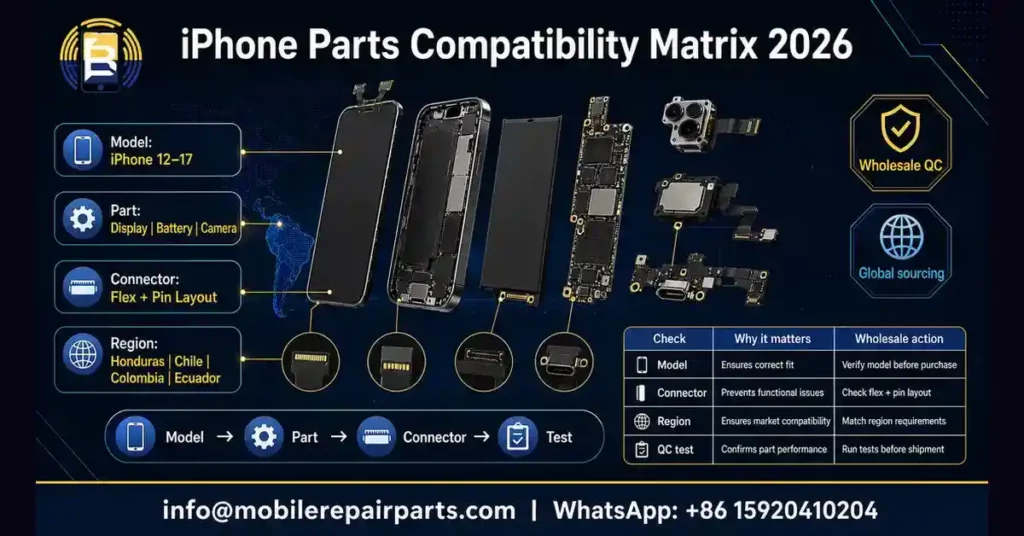
When an iPhone charging port replacement is justified, send the supplier the exact model number, the connector type, the assembly required and the function that the reference part restored. Include the applicable regional variant if it affects fit or assembly layout. A shared USB-C or Lightning connector tells you which cable plugs in. Confirm the internal connections, mounting points and applicable functions before treating two assemblies as interchangeable. Use the iPhone parts compatibility matrix to check the match.
For a repeat order, keep the supplier part reference, device compatibility and batch details in separate fields. This makes it easier to report a recurring data or charging failure against a specific batch. If you have already isolated the problem to the port on an iPhone 11, see the iPhone 11 charging port guide for the model-specific installation path. If the diagnosis points to the board, send the test record to the specialist before you add another assembly to the order.
Verify the Repair Before Returning the Phone
Recreate the original failure conditions with a verified cable and adapter. Check for stable charging and an increase in battery percentage when the phone can accept a charge. Test data recognition separately if it was affected. Test the microphone if the serviced assembly carries that function on the model. After a battery repair, also confirm that the device continues to operate when unplugged.
Record the part reference, batch if available, what you changed, and whether each affected function passed. A later return can then be compared with the original symptom and the release test.
Frequently Asked Questions
Does the charging symbol prove that the battery is charging?
The symbol alone cannot confirm that the battery is gaining charge. Compare the battery percentage over time under appropriate charging conditions. If the job calls for bench testing, record the meter setup and interpret its reading alongside the phone’s behavior.
What if wireless charging works but wired charging does not?
Check the wired input first. Try verified accessories, inspect the connector and compare a known-good compatible assembly if needed. The difference narrows the diagnosis to investigate, but further testing is needed to distinguish the port assembly from its connection or the wired circuit on the board.
Why does the phone charge but fail to appear on a computer?
Start with a known-good data cable, an unlocked phone, any trust prompt, and a working computer port. If recognition still fails, evaluate the data route through the connector, port assembly and board.
When should I stop swapping charging ports?
When verified accessories and a compatible reference assembly reproduce the same fault, record the results and inspect the board connection. Refer the case for board diagnosis if the fault remains unresolved or visible damage calls for specialist work.