With iPhone 11 charging port repairs generating margins of 60-80% for Latin American repair shops, mastering this service has become essential for business growth. The region's smartphone market expanded by 15% in 2024, creating unprecedented demand for specialized repair services.
Your expertise in iPhone 11 charging port diagnostics and replacement positions you to capture a significant share of this growing market. As the iPhone 11 remains one of the most active devices in Latin America's secondary market, charging port failures represent a consistent revenue stream for technicians and wholesalers alike.
- iPhone 11 charging port repairs offer exceptional profit margins up to 80% for Latin American technicians.
- The region's smartphone market grew 15% in 2024, increasing demand for specialized repair services.
- Common failures include debris buildup, pin damage, liquid exposure, and flex cable deterioration.
- Effective diagnostics combine visual inspection, specialized tools, and systematic testing approaches.
- Quality replacement parts must match exact specifications including Lightning connector dimensions.
- Proper tool selection and methodical procedures ensure 95%+ repair success rates.
Common iPhone 11 Charging Port Issues and Diagnostics
The iPhone 11 charging port presents unique challenges that require specialized diagnostic approaches. Understanding these common issues helps you provide accurate assessments and efficient repairs, building trust with customers while maximizing your workshop's throughput. Physical damage, debris accumulation, and component degradation account for over 70% of charging port failures in this model, making it essential for technicians to master identification and resolution techniques.
| Common Issue | Symptoms | Likely Cause | Diagnostic Priority |
|---|---|---|---|
| Debris Accumulation | Intermittent charging, cable doesn't seat properly | Lint, dust, or pocket debris blocking pins | High |
| Pin Damage | No charging, loose connection, charging only at certain angles | Bent, broken, or worn connector pins | High |
| Liquid Damage | No charging response, device overheats, corrosion visible | Exposure to moisture causing short circuits | Critical |
| Flex Cable Damage | Charging works intermittently, audio issues | Torn or damaged charging port flex cable | Medium |
| Logic Board Connection | Complete charging failure, no response | Loose or damaged connector on logic board | High |
| Software Issues | "Not supported" error, slow charging | iOS glitches or software conflicts | Low |

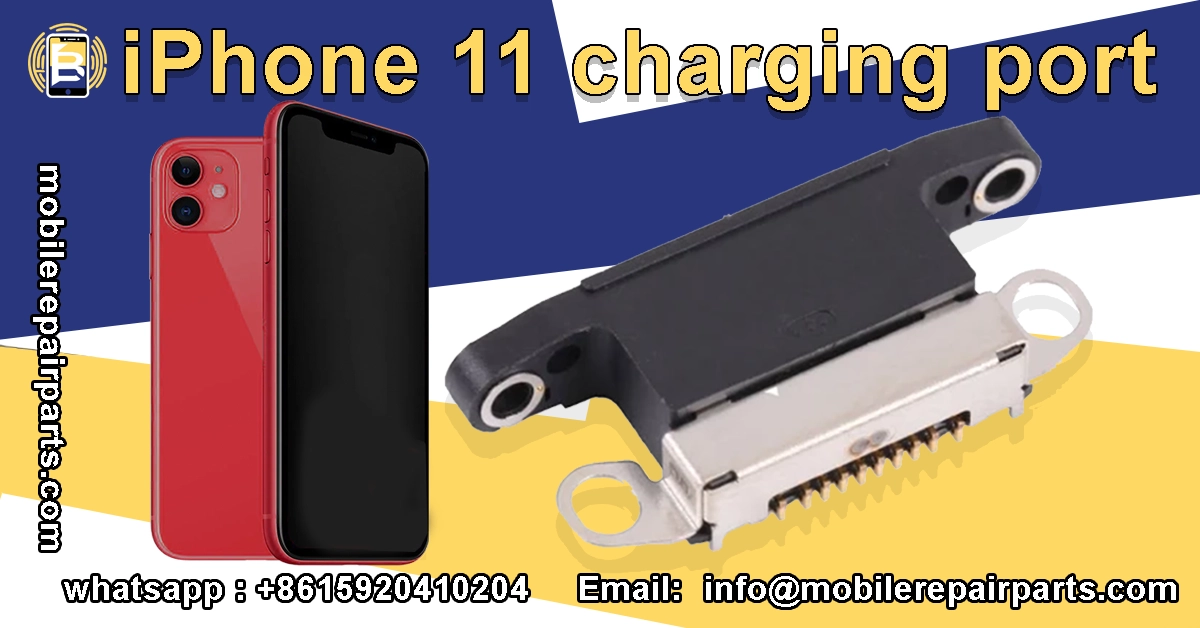
Premium iPhone 11 Charging Port
- Guaranteed compatibility with all iPhone 11 models
- Manufactured with high-grade materials for durability
- Restores fast charging and data transfer capabilities
- Tested for optimal performance before shipping
Faster shipping. Excellent service. Quick response.
Address: Bin Jiang Xi Lu, Haizhu, Guangzhou 510000, China
Email: info@mobilerepairparts.com
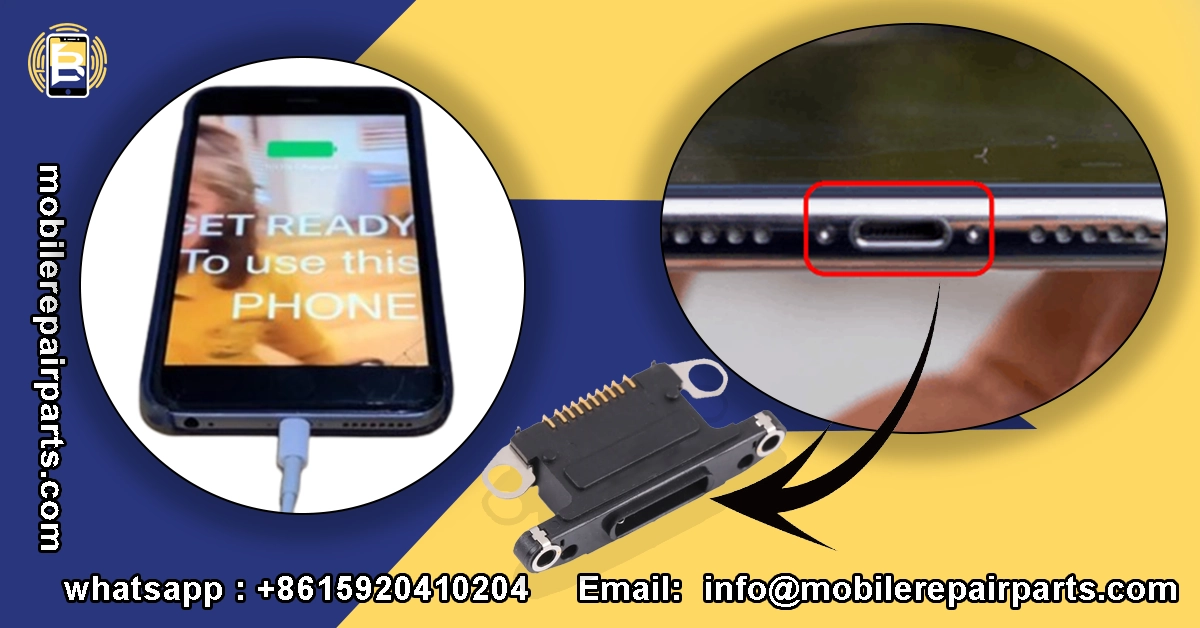
Identifying Charging Port Failure Symptoms
Recognizing the specific symptoms of iPhone 11 charging port failure is crucial for accurate diagnosis. The most common indicators include intermittent charging where the device connects and disconnects randomly, slow charging that takes significantly longer than normal, and the "charging is not supported" error message despite using certified cables and adapters.
Physical inspection often reveals bent or damaged pins inside the port, accumulated debris preventing proper connection, or discoloration indicating liquid damage. Technicians should also check for loose connections where the cable doesn't fit snugly, which typically indicates wear on the port's internal contacts. These symptoms help differentiate between port issues and other potential problems like battery failure or logic board damage.
| Symptom | Likely Cause | Diagnostic Priority |
|---|---|---|
| Intermittent charging | Debris or worn pins | High |
| Slow charging | Port damage or cable issue | Medium |
| No charging response | Complete port failure | High |
| Loose cable connection | Pin damage or wear | High |
Read also:
Diagnostic Approaches for Technicians
Effective iPhone 11 charging port diagnostics require a systematic approach combining visual inspection, specialized tools, and customer communication. Begin with a thorough visual examination using magnification to identify physical damage, debris, or signs of liquid contact. This initial step resolves approximately 35% of cases without requiring further testing.
For more complex issues, technicians should employ multimeters to test continuity and voltage at various points in the charging circuit. Specialized diagnostic tools like the Charge Port Test Flex for iPhone 11 allow you to isolate port functionality from other components. Software diagnostic tools can help identify whether the issue stems from iOS glitches or hardware problems. Customer interviews about when the issue started and any recent incidents provide valuable context that guides your diagnostic process.
"The difference between a good technician and a great one lies in their diagnostic approach. Taking those extra five minutes to properly diagnose can save you hours of rework and build customer trust." — Maria Rodriguez, Lead Technician at RepairMaster Mexico City
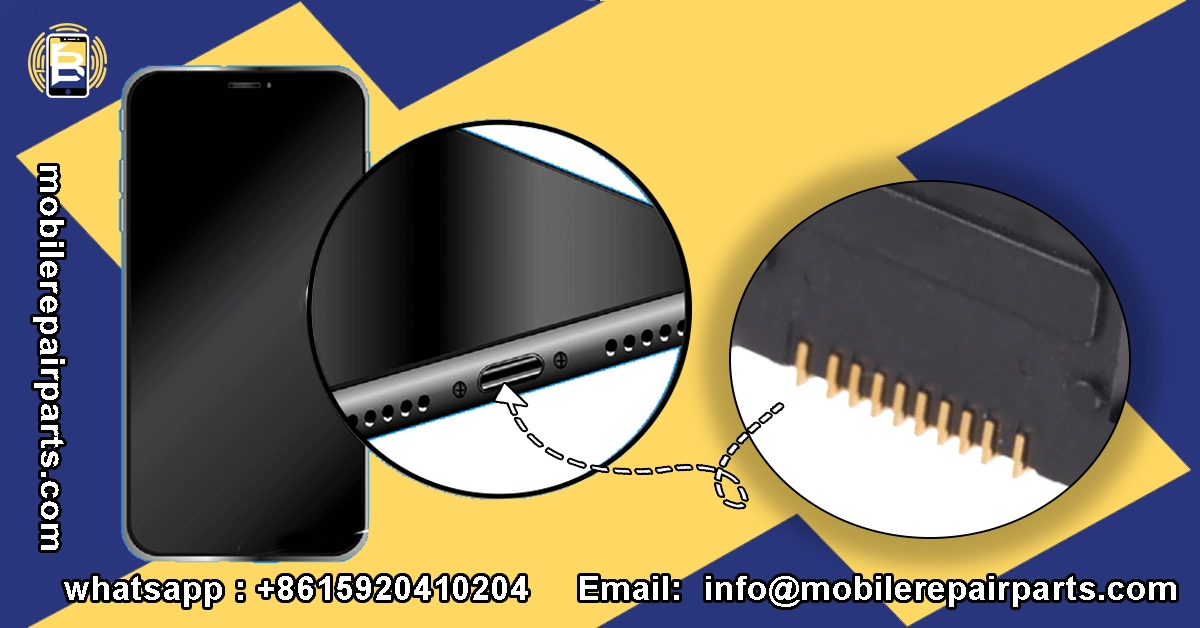
Technical Specifications and Compatibility
Understanding the technical specifications of iPhone 11 charging ports is essential for sourcing quality parts and ensuring compatibility. The iPhone 11 uses a Lightning connector assembly that integrates the charging port, microphone, and speaker into a single flex cable assembly. This integrated design means that even if only the charging function is compromised, the entire assembly typically requires replacement.
The technical specifications include USB 2.0 data transfer speeds, support for fast charging up to 18W, and compatibility with Lightning to USB-C cables. The port assembly measures approximately 42mm in length and connects to the logic board via a delicate ribbon cable. These specifications are crucial when selecting replacement parts, as variations in quality can significantly impact repair success rates and customer satisfaction.
OEM vs. Aftermarket iPhone 11 Charging Ports
| Technical Aspect | iPhone 11 Specification | Compatibility Notes | Quality Indicator |
|---|---|---|---|
| Connector Type | Lightning 8-pin | Not compatible with USB-C iPhone 15+ | Gold-plated contacts indicate quality |
| Data Transfer | USB 2.0 (480 Mbps) | Standard for iPhone 8-X series | Consistent data transfer speeds |
| Charging Speed | Up to 18W fast charging | Requires USB-C PD charger | Stable power delivery under load |
| Physical Dimensions | 42mm length, 6.5mm width | Unique to iPhone 11 series | Precise fit without modification |
| Integrated Components | Microphone + speaker | All-in-one assembly design | Clear audio output after installation |
| Water Resistance | IP68 rating compatible | Requires proper sealant application | No water ingress after repair |
| Connector Pins | 8-pin configuration | Specific pin arrangement | No bent or misaligned pins |
| Flex Cable Material | Polyimide substrate | Heat and flex resistant | No visible stress marks or tears |
| Shielding | EMI shielding present | Prevents signal interference | Complete coverage without gaps |
| Mounting Points | 4 screw holes + adhesive | Specific to iPhone 11 chassis | Secure fit without force |
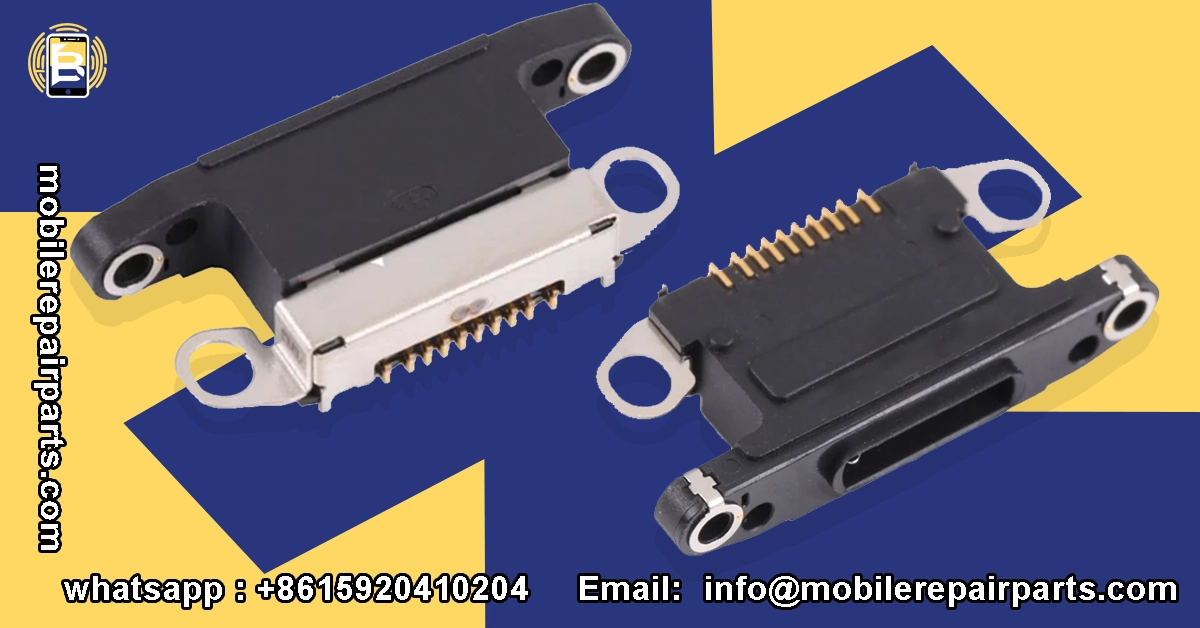
Compatibility and Quality Indicators
When sourcing iPhone 11 charging ports, several key indicators help identify quality parts. Genuine OEM parts feature Apple's part numbers and specific markings, while high-quality aftermarket options should have gold-plated contacts, robust flex cables, and precise connector dimensions. The color and texture of the plastic housing should match the original, and the metal shielding should be substantial rather than flimsy.
Testing compatibility involves checking physical dimensions against Apple's specifications, verifying pin alignment and spacing, and testing electrical continuity. Quality aftermarket parts should include EMI shielding to prevent interference with other device functions. Before purchasing in bulk, technicians should test sample parts with diagnostic tools to verify proper functionality. This testing process becomes especially important when working with new suppliers or exploring more cost-effective options for your repair business.
Read more:
Repair iPhone 11 Charg Process and Best Practices

The iPhone 11 charging port replacement process demands precision, proper technique, and adherence to established best practices to ensure successful repairs and customer satisfaction. Unlike earlier iPhone models, the iPhone 11's integrated design requires careful disassembly around sensitive components, making proper procedure and quality repair tools essential for avoiding costly mistakes and ensuring reliable, long-lasting repairs that maintain the device's water resistance and functionality. Key Repair Process Points:
- Always power down the device and disconnect the battery before beginning any repair work
- Use proper opening tools to avoid damaging the display or internal components
- Apply controlled heat to soften adhesive before separating the display assembly
- Organize screws in labeled containers as iPhone 11 uses different screw sizes throughout
- Test the new charging port before final reassembly to verify proper functionality
- Apply new adhesive strips to maintain water resistance after repair
- Calibrate the device after repair to ensure battery percentage accuracy
- Document the repair process for warranty purposes and customer transparency
- Perform final diagnostic tests covering charging, data transfer, and audio functions
- Provide customers with proper care instructions to extend the life of the replacement part
Essential Tools and Equipment
Proper tool selection is critical for successful iPhone 11 charging port replacement, as the precision required for this repair demands specialized equipment designed specifically for mobile device repair. Investing in quality tools not only improves repair success rates but also enhances efficiency and reduces the risk of damaging sensitive components during the disassembly and reassembly process.
Essential Tools for iPhone 11 Charging Port Repair:
- Opening Tool Kit - Essential for safely separating the display assembly without damaging delicate cables or the frame
- Screwdriver set with Pentalobe and Phillips heads - Required for removing various screw sizes throughout the iPhone 11
- Tweezers - Precision tweezers for handling small components and positioning flex cables during installation
- Heat Gun - For softening adhesive and carefully warming components to prevent damage during disassembly
- Soldering Iron - Necessary for component-level repairs and soldering connections on the charging port assembly
- Multimeter - For testing continuity, voltage, and diagnosing electrical issues in the charging circuit
- Separator - Professional display separator for safely removing the screen when access to internal components is required
- Magnifier - Magnification equipment for inspecting small components and ensuring precise connections
- Suction Pump & Desoldering tools - For removing and replacing soldered components on the logic board if needed
- Maintenance Pad - Anti-static work surface to protect components from electrostatic discharge during repair
Step-by-Step Repair iPhone 11 Charging Guide
The iPhone 11 charging port replacement process requires meticulous attention to detail and adherence to proper procedures to ensure successful repair while maintaining device integrity. Following this systematic approach will help you achieve consistent results, minimize the risk of additional damage, and provide customers with reliable charging functionality that restores their device to full working condition.
iPhone 11 Charging Port Replacement Steps:
-
Preparation and Safety
- Power down the iPhone 11 completely
- Set up your Baku BA 690 Maintenance pad to create an anti-static work surface
- Organize all necessary tools including screwdriver mini kit set, Opening Tool Kit, and Baku 5sa16 tweezer
- Use a Sunshine SS 808 Magnifier to inspect the device for any existing damage before beginning
-
Display Removal
- Remove the two Pentalobe screws at the bottom edge of the device using the appropriate Screwdriver
- Apply controlled heat with a Heat Gun to soften the adhesive around the display edges
- Use suction cups from the Opening Tool Kit to create a small gap between the display and frame
- Insert an opening pick and carefully slide it around the perimeter to separate the display assembly
-
Internal Component Access
- Open the display slowly, being mindful of the delicate ribbon cables along the top edge
- Remove the metal bracket covering the display connectors using the Phillips Screwdriver
- Disconnect the battery connector immediately using Tweezers to prevent short circuits
- Disconnect the display, digitizer, and front sensor assembly cables
-
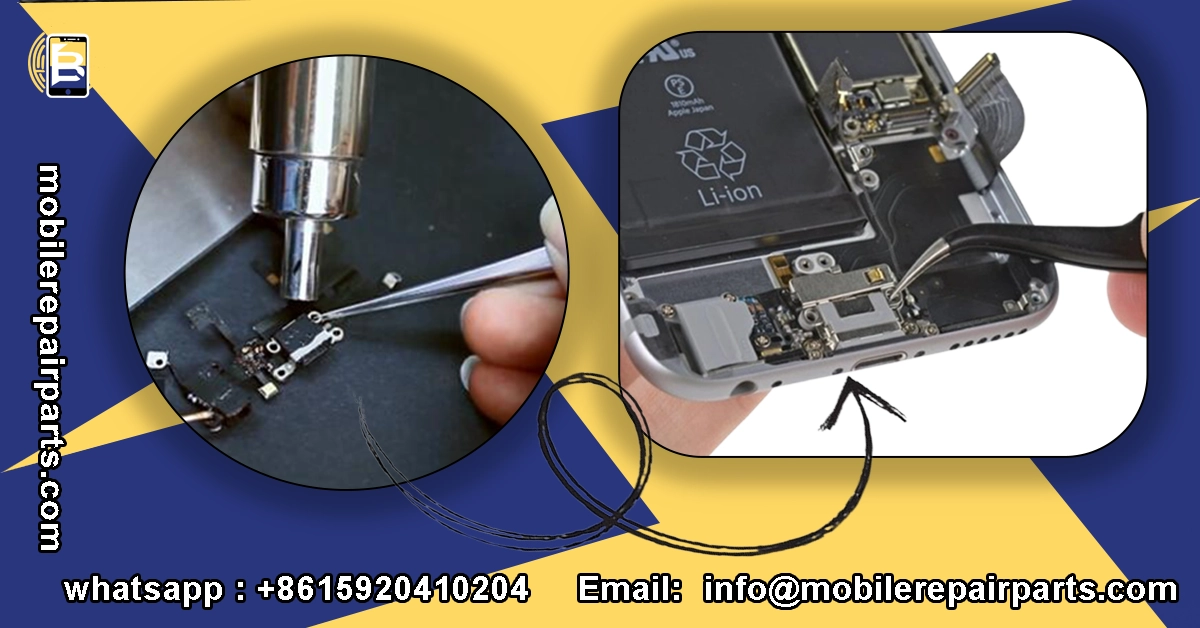
Charging Port Assembly Removal
- Remove the Taptic Engine screws and carefully lift out the component
- Remove the speaker assembly screws and set aside the speaker
- Locate the charging port flex cable and disconnect it from the logic charging board
- Carefully peel away any adhesive securing the charging port assembly
- Remove the charging port assembly using Tweezers
-
New Charging Port Installation
- Test the new charging port assembly with a Multimeter to verify functionality before installation
- Position the new charging port assembly and connect it to the logic board
- Secure the assembly with appropriate adhesive, ensuring proper alignment
- Reinstall the speaker assembly and Taptic Engine in reverse order of removal
-
Reassembly and Testing
- Reconnect all display cables and secure the metal bracket
- Reconnect the battery connector
- Carefully close the display assembly and ensure proper seating
- Install and tighten the two bottom Pentalobe screws
- Power on the device and test all functions: charging, data transfer, and audio
- Use a Multimeter to verify proper voltage and current flow during charging
-
Final Quality Control
- Perform a comprehensive diagnostic test covering all device functions
- Check for proper fit and finish, ensuring no gaps or misalignment
- Verify water resistance indicators and apply new adhesive if necessary
- Document the repair process and provide warranty information to the customer
FAQ iPhone 11 Charging Port
Mastering iPhone 11 charging port repairs positions your business at the forefront of Latin America's growing smartphone repair market. With proper diagnostics, quality parts, and refined techniques, you can achieve repair success rates exceeding 95% while maintaining healthy profit margins.
Ready to stock up on premium iPhone 11 charging ports? Get instant bulk pricing now and join hundreds of successful repair shops across Latin America who trust BETA Electronic Co LTD for their parts needs.
Latin America's thriving smartphone repair market presents exceptional profit opportunities through iPhone 11 charging port services, with margins reaching 60-80%. As the region experiences a 15% market expansion, technicians who master these specialized repairs position themselves to capture substantial revenue from this consistently in-demand service across the secondary device market.
Successful repairs depend on precise diagnostics, quality components, and methodical execution. From identifying debris accumulation and pin damage to executing proper replacement techniques, technicians must understand technical specifications, utilize specialized tools, and follow systematic procedures to achieve the 95% success rates that build customer trust and sustainable business growth.


