
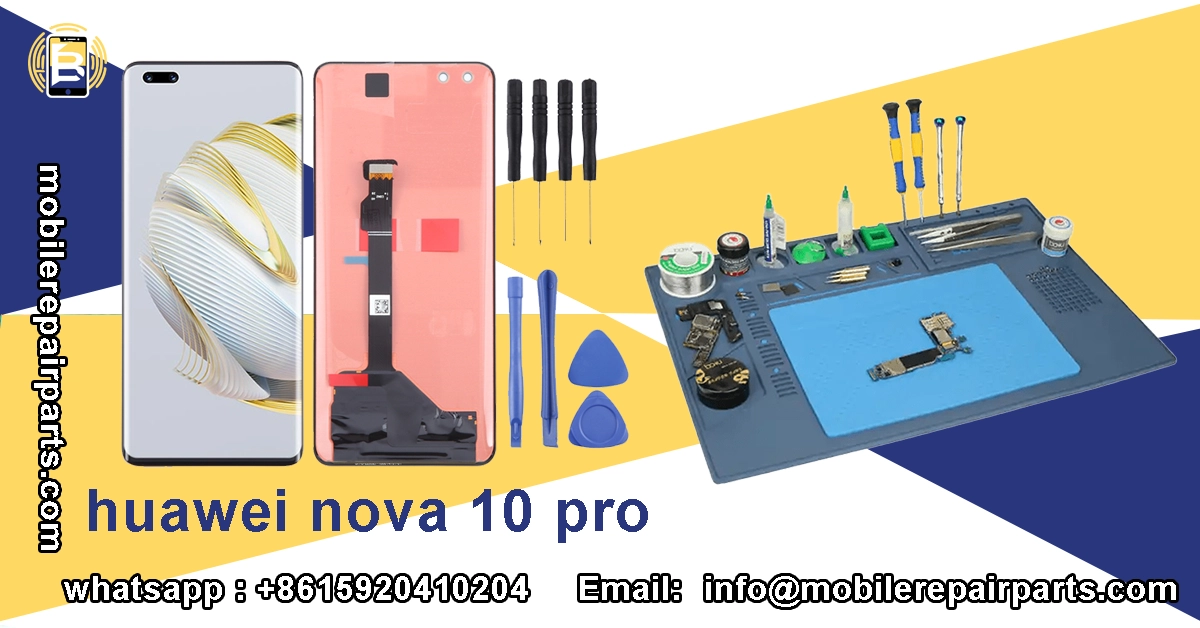
Repairing the Huawei Nova 10 Pro offers your shop a high-margin opportunity, especially given the device's prevalence in the mid-range market. Mastering the specific quirks of this model allows you to reduce turnaround times and significantly increase your monthly revenue per technician.
For technicians across Latin America, maintaining a ready stock of huawei nova 10 pro components is crucial for capitalizing on the region's booming used-phone aftermarket.
|
📘 Summary Repairing the Huawei Nova 10 Pro offers technicians a high-revenue opportunity, provided they master complex curved screen lamination and 100W SuperCharge diagnostics. This guide equips Latin American workshops with essential repair protocols and strategic sourcing insights from Shenzhen to optimize inventory turnover and profit margins. |
🔍 Key Highlights
|
Common Huawei Nova 10 Pro Failures

The huawei nova 10 pro is renowned for its sleek design, but its construction introduces specific failure points that technicians must recognize immediately. The most prevalent issue involves the curved OLED screen, which is susceptible to cracking from corner drops and often suffers from digitizer malfunctions even when the glass remains intact. Additionally, the aggressive 100W SuperCharge architecture generates significant heat, leading to accelerated battery degradation and potential charging board failures over time.
Another frequent failure category involves the sophisticated camera system, particularly the pill-shaped cutout on the front. Users often report autofocus failures on the dual selfie cameras or flickering issues due to loose flex connectors. Internally, the motherboard is prone to flex cable connectivity issues, where the signal antenna or vibrator flex cables loosen after minor drops, resulting in signal loss or silent vibration failures. To maintain stock, ensure you have the LCD frame middle chassis and signal flex cable ready.
"The intricacy of modern smartphone cameras requires steady hands and even steadier supply chains for replacement modules."
Curved OLED Screen & Digitizer Malfunctions
The curved display is the crown jewel of the device but also its Achilles' heel. Replacing it requires more than just a spare part; it demands a specific technical approach to avoid damaging the frame.
- Heat Application: Apply heat (80°C–90°C) around the edges to soften the LOCA adhesive.
- Separation: Use a high-strength suction cup to lift the glass, then slice the adhesive with a 0.1mm razor blade.
- Wire Management: Carefully disconnect the OLED flex cable from the motherboard to avoid tearing the socket.
- Installation: Align the new OLED LCD display screen and press firmly to activate the new adhesive.
Battery Degradation and 100W SuperCharge Port Failures
High-speed charging cycles degrade the Li-Po cell faster than standard charging. When a customer complains about overheating or shutdowns at 40%, inspect the battery health.
- Removal: Power off the device. Remove the rear cover by heating the edges and using a pry tool.
- Disconnect: Detach the battery connector from the motherboard immediately to prevent shorting.
- Adhesive Removal: Use isopropyl alcohol to dissolve the adhesive strips securing the 4000 mAh battery.
- Replacement: Install the new battery Li-Po 4000 mAh and reconnect the battery back cover.
If the battery is fine but charging is intermittent, the issue lies in the port assembly.
- Access: Remove the motherboard shield to expose the charging board.
- Swap: Desolder or unclip the damaged charging board USB Type-C 2.0.
- Detail: Inspect the charging port connector for lint or debris before final assembly.
Front and Rear Camera Module Defects
The Nova 10 Pro is a camera-centric phone, and defects here are noticeable immediately. The pill-cutout houses two separate cameras that must be handled individually.
Front Camera Repair Steps:
- Open: Remove the display assembly to access the top of the motherboard.
- Identify: Locate the faulty module—either the ultrawide front selfie camera or the telephoto front selfie camera.
- Replace: Gently pry the loose connector and replace the specific unit.
Rear Camera Repair Steps:
- Disassemble: Remove the rear glass cover.
- Unscrew: Remove the protective bracket holding the rear camera stack.
- Swap: Replace the affected unit, whether it is the main 50MP wide back camera, the 8MP ultrawide back-camera, or the 2MP depth back camera.
- Lens: If the glass is scratched but the camera works, replace only the rear camera lens cover.
Essential Repair Protocols for the Nova 10 Pro
Efficient repair of the [huawei nova 10 pro] hinges on adherence to strict protocols, particularly when dealing with the fragile internal ribbon cables. Technicians should prioritize the preservation of the main board flex cable, as damaging this component often renders the device unrecoverable. When opening the chassis, always use a plastic spudger to avoid scratching the coating on the internal shields, which can lead to capacitive coupling issues later on.
For audio issues, which are common due to dust ingress, you must systematically replace the affected audio components. If the user reports low call volume, replace the earpiece ear speaker. For media audio failures, swap the loud speaker clear audio. Ensure you also test the internal microphone and the fingerprint sensor before resealing the device.
Advanced Curved Screen Replacement
Screen repairs on this model are labor-intensive. The screen is bonded to the frame with strong adhesive, requiring patience and heat.
- Preparation: Set your heat gun to 100°C. Wave it evenly around the perimeter for 3 minutes.
- Lifting: Place a suction cup near the earpiece and pull up steadily. Insert a thin playing card or pry tool once a gap appears.
- Cutting: Slide the tool around the edge to cut the adhesive. Do not insert it deeper than 5mm to avoid damaging the display cables.
- Test: Before removing the protective film from the new screen, connect it and power on the phone to test touch functionality.
- Seal: If the test is successful, peel the film, apply new adhesive, and clamp the screen for 10 minutes.
Efficient Battery and Charging Port Assembly Replacement
Battery swelling can put pressure on the screen, causing cracks. Always inspect the battery during screen repairs.
- Safety: Do not bend the battery. If swollen, dispose of it according to local regulations.
- Disconnect: The battery connector is located beneath the logic board's RF shield. Carefully lift the shield.
- Extraction: Pull the blue adhesive tabs at the bottom of the battery slowly. If they break, use adhesive remover.
- Install: Place the new battery, ensuring the vibrator vibration motor is not pinched underneath it.
Diagnosing and Replacing Faulty Camera and Sensor Modules
Camera failures often stem from software glitches, but hardware damage is common in drops.
- Diagnosis: Open the camera app and test each lens individually. Switch modes to identify which sensor is failing.
- Front Module: The front camera is connected via a delicate ribbon cable running through the hinge area of the flex cable. Be extra careful here.
- Rear Module: The rear cameras are seated on a dedicated daughterboard. Ensure the dual nano SIM card tray and SIM card connector are not damaged during disassembly.
Curated Toolkits for Nova 10 Pro Repair Centers
To efficiently service the [huawei nova 10 pro], your shop needs more than generic tools. You require precision instruments capable of handling small tri-point screws and delicate flex cables. Investing in high-quality magnetic mats and ESD-safe tweezers will save you hours of lost productivity and prevent "screw lost inside the chassis" scenarios. Furthermore, having specific molds for the curved screen ensures the new adhesive cures with the correct pressure, preventing future touch failures.
Precision Tooling: Screwdrivers, Pry Tools, and Suction Cups for Delicate Assembly
A standard toolkit won't suffice. You need a 0.8mm Phillips and a 1.5mm Pentalobe screwdriver for the exterior screws, plus a Y000 tri-point driver for the interior shields.
- Suction Cup: Use a heavy-duty metal suction cup for the initial lift.
- Pry Tools: Keep a stock of plastic pry tools; metal ones should only be used with extreme caution.
- Tweezers: Anti-static curved tweezers are essential for handling the power volume buttons flex cable.
Specialized Equipment: Heat Guns, Adhesive Removers, and Lamination Machines
For screen refurbishment, a hot plate separator machine is mandatory. The curved nature of the screen makes manual separation dangerous.
- Heat Gun: Variable temperature control is vital to prevent OLED burn.
- Adhesive Remover: Use high-quality adhesive remover to dissolve the glue without warping the frame.
- Laminator: An OCA laminator ensures bubble-free application of the new polarizer and glass.
Selling Complete Toolkits: A Value-Added Service for Your Clients
Don't just sell parts; sell solutions. Bundling a screen replacement with a toolkit increases perceived value.
- Basic Kit: Screwdriver set, suction cup, 2x pry tools.
- Pro Kit: Adds heat gun, adhesive remover, and precision tweezers.
- Master Kit: Includes a screen separator and OCA lamination machine.
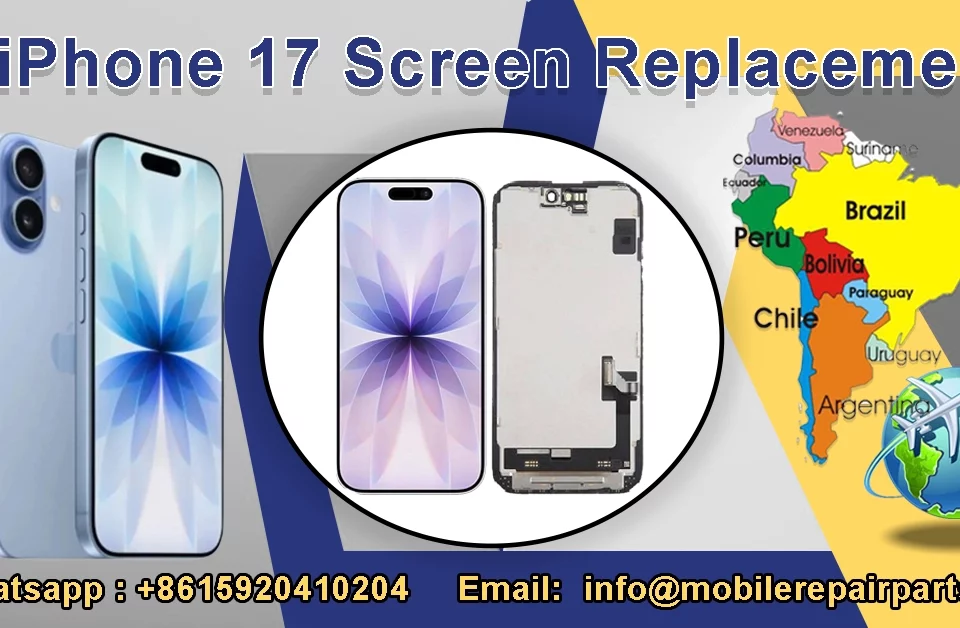
Direct Sourcing from Shenzhen: A Guide for Latin American Importers
Navigating the supply chain from Shenzhen to Latin America is the ultimate competitive advantage. By importing directly, you bypass middlemen and gain access to OEM and high-copy parts weeks before they hit local distributors. Understanding Incoterms and choosing the right freight forwarder can mean the difference between a profitable shipment and one stuck in customs limbo. Always verify your supplier's export licenses and ask for batch codes to ensure quality consistency. Partnering with BETA Electronic Co LTD simplifies this process, providing reliable access to the inventory you need with verified export standards.
Essential Parts to Stock for the Nova 10 Pro
Stock management is an art. You must balance inventory holding costs with the need for speed.
| Part Category | High-Turnover Items | Medium-Turnover Items |
|---|---|---|
| Display | OLED LCD Display Screen | LCD Frame Middle Chassis |
| Power | Battery Li-Po 4000 mAh | Charging Board USB Type-C 2.0 |
| Input/Output | Charging Port Connector | Power Button Outer |
Assembling Value-Added Repair Kits for Technicians
Create "Repair Kits" that include all necessary parts for a specific job.
- Screen Kit: OLED LCD Display Screen + adhesive + frame.
- Camera Kit: All three rear cameras + both front cameras.
- Charging Kit: Battery + charging port connector + volume side button outer.
FAQ Huawei Nova 10 Pro
Mastering these repair protocols ensures your business captures maximum value from the Huawei Nova 10 Pro market.

